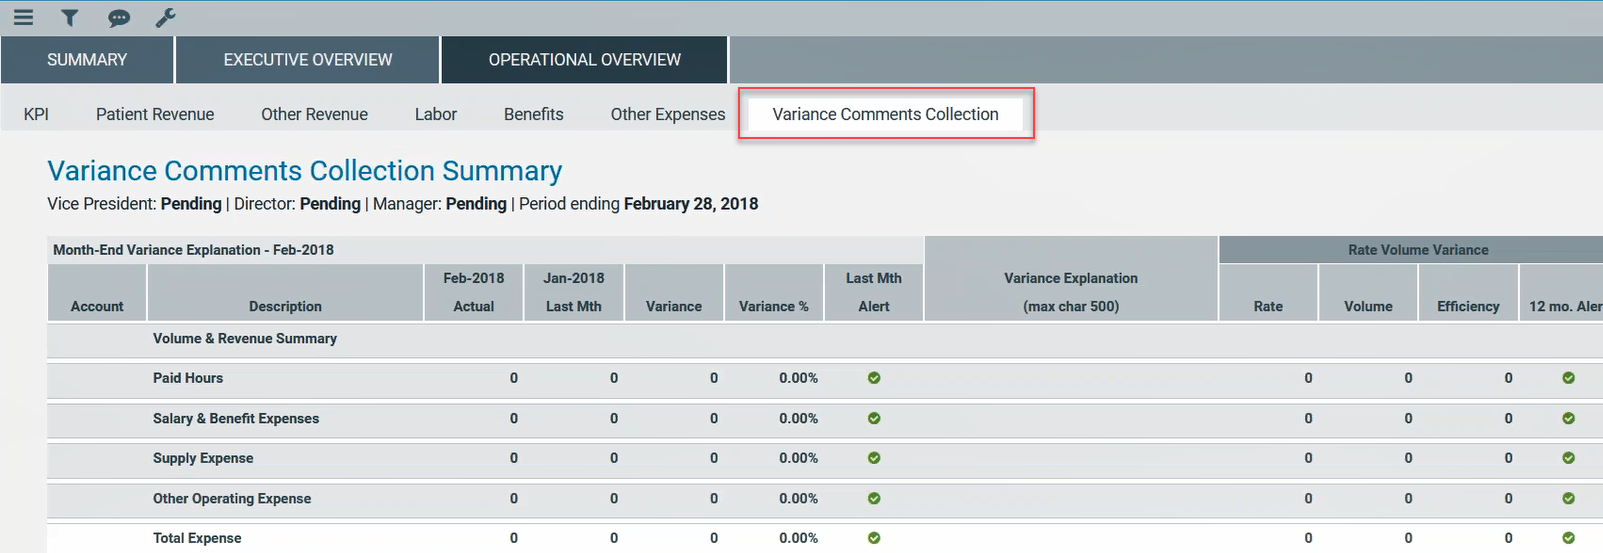
Using the Variance Comments Collection tab in the Month End Review dashboard
The Variance Comments Collection tab in the Month End Review dashboard allows you to manage variance comments. The tab displays as a sub-tab of the Operational Overview section within the dashboard. For instructions on activating the tab, see Activating Variance Comments Collection.
Applying filters
You must filter accounts before data will display.
To apply filters:
-
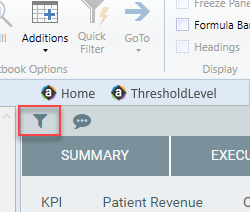
Click the filter icon in the upper-left toolbar.
- In the drop-down menus that display, click options to set your time period, target, category, filter, and department. For more information on these filters, see Viewing and filtering the Month End Review dashboard.
-
In the Variance Comments Collection section, complete the following options, as needed:
Option Description Which items do you want to see? drop-down Click one of the following options:
- All Items: displays all accounts.
- Show Required Comments Only: displays only the accounts where variance comments are required based on threshold settings.
Action Plan checkbox When checked, the tab displays the Action Plan column. The Action Plan column displays a text box for each account where comments are required. Use this text box to describe your action plan in regard to the variance.
Rate Volume Variance checkbox This box is checked by default. When checked, the tab displays the following columns: Rate, Volume, Efficiency, and 12 mo. Alert. The alerts are based on threshold settings.
Year-To-Date checkbox When checked, the tab displays the following columns: Current year Actual, Last Year, Variance, Variance %, and Last Year Alert. The alerts are based on threshold settings. 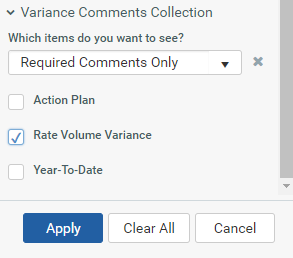
- Click Apply.
-
In the Variance Explanation column, type a description that explains the variance from the previous year.
TIP: You can enter information in this column specific to the period you selected in Step 2.
-
In the Action Plan column, type the actions your organization plans on taking to address the variance.
NOTE: This column only displays if you select the Action Plan check box in Step 3.
TIP: You can enter information in this column specific to the period you selected in Step 2.
- After you finish making changes, click Save in the upper right corner of the page.
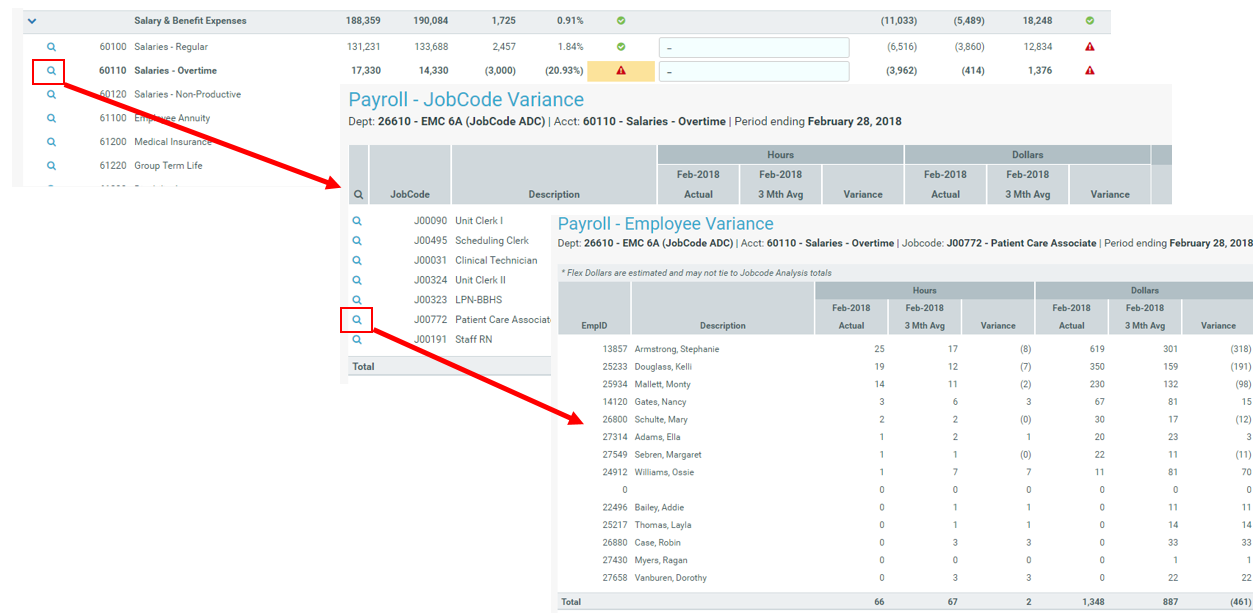
Drilling down to detail
Once you apply the filters, you can drill-down to greater levels of detail. To drill down, click the blue magnifying glass icon to see greater detail regarding the account in that row.

In the example below, we drill-down on Salaries - Overtime > all associated job codes > all associated employees.
NOTE: You can only access drill-downs for data that you have loaded already. For example, the JobCode Variance drill-down will not be available if you have not loaded job code data.
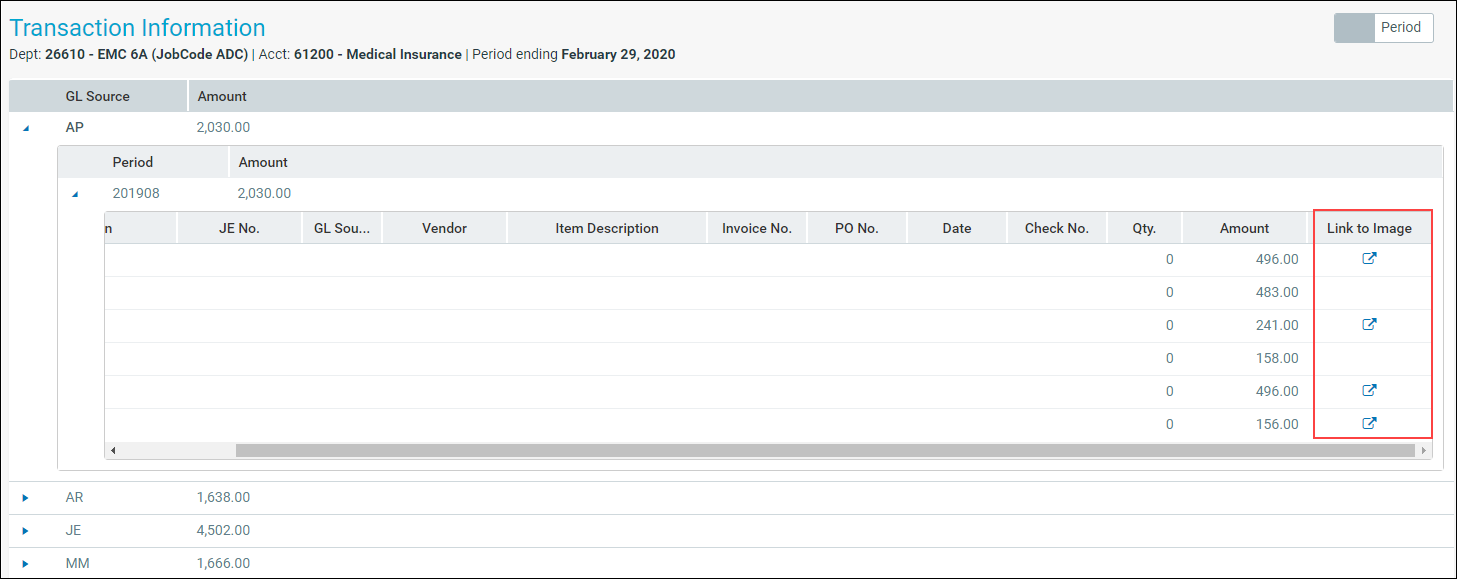
Viewing document images
AP and AR transactions may include links to supporting documentation that you can view directly in the Variance Comments Collection tab. To view the document links, drill down to the appropriate transaction, and click and drag the scroll bar until the Link to Image column displays. Click the icon to open the document image.